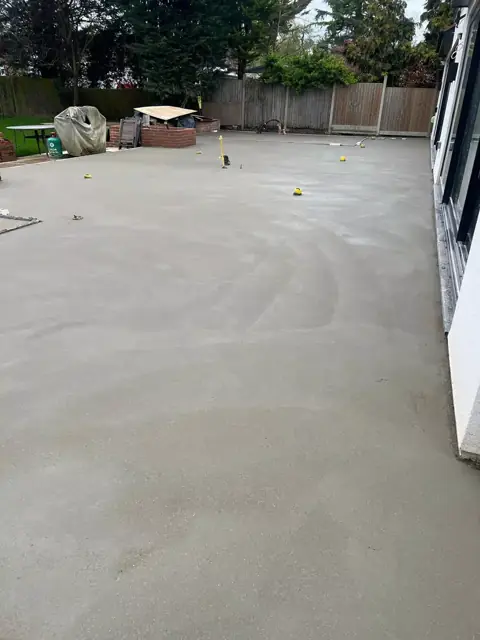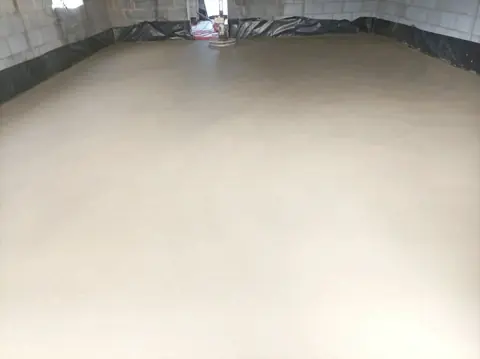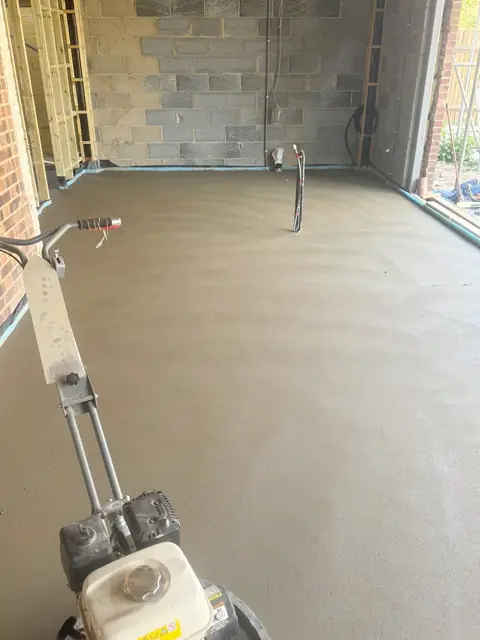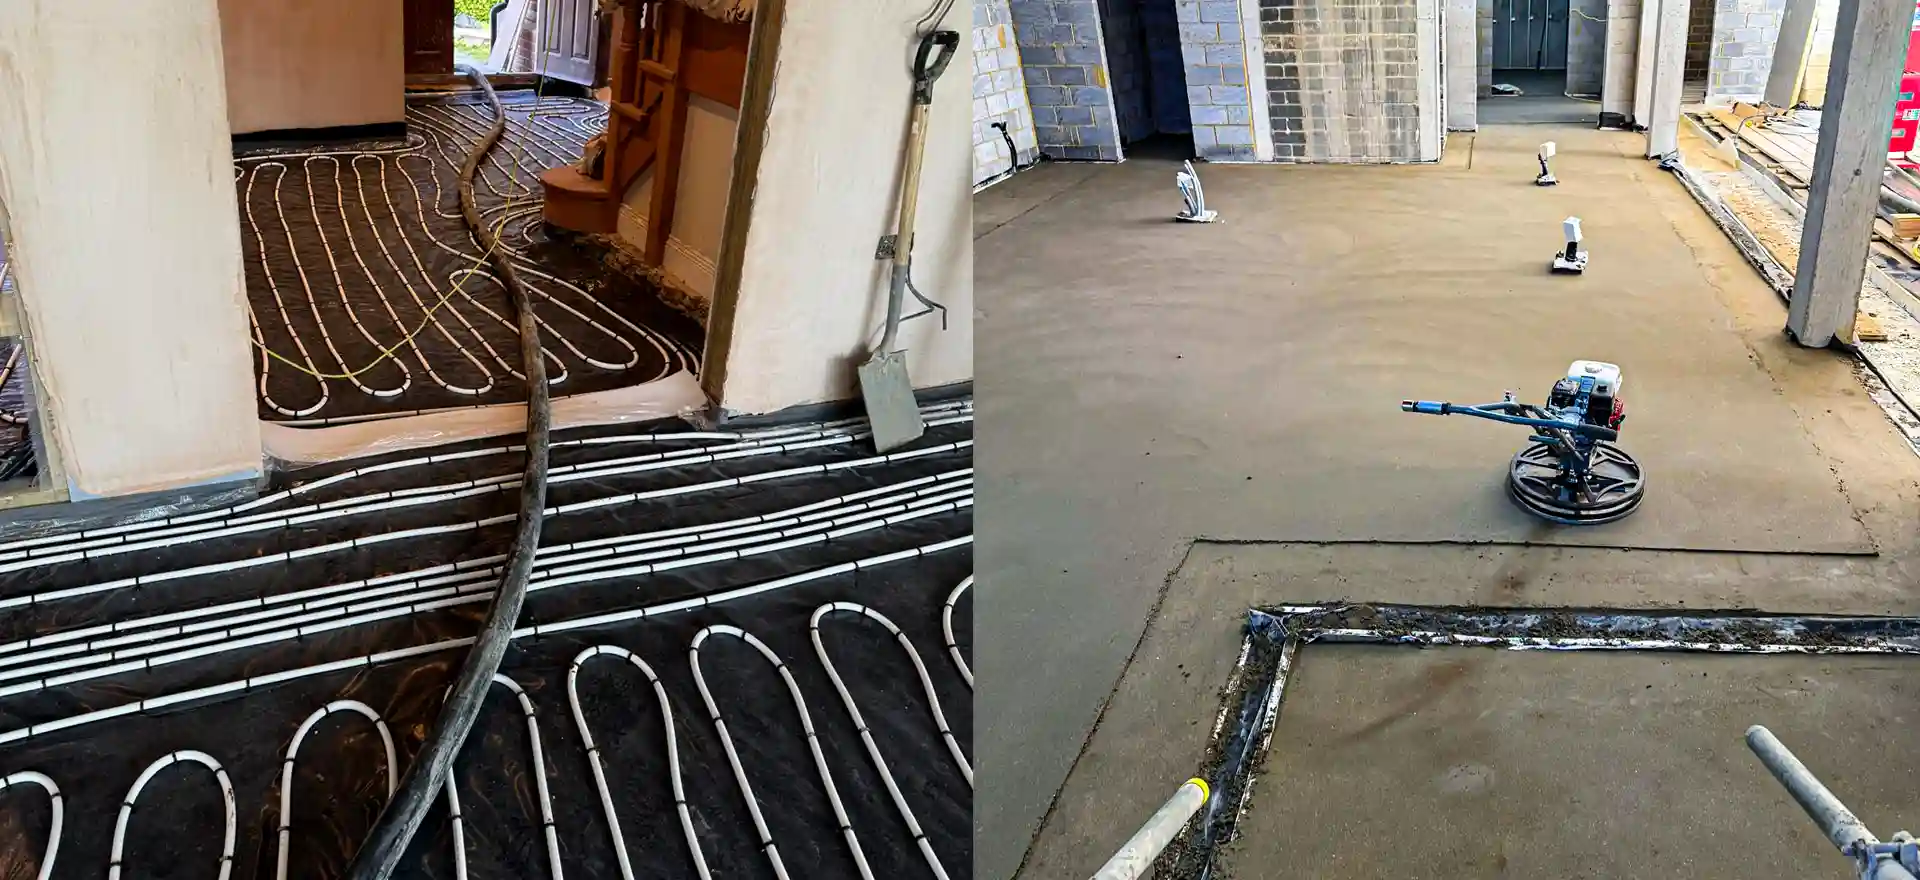
A new screed looks dry within a day or two, but looks are misleading. Most of the water added when the screed was mixed is still inside it, and it takes far longer to escape. Lay an impermeable floor covering such as vinyl, LVT, rubber or wood over a screed that is still wet, and that moisture has nowhere to go. The results are lifting, blistering, gaps, adhesive failure and sometimes mould.
This guide explains typical drying times, what affects them, how to speed drying up safely, and how to test that a screed is ready.
Walking on it versus drying it
There are two different questions here, and they are often confused.
When can I walk on it? Most screeds can take light foot traffic after around 24 to 48 hours. Liquid screeds usually need the room closed off for the first day or two, then can be walked on.
When can the floor covering go down? This is the drying question, and it takes much longer. The screed must reach a moisture level that suits the floor finish, which for a traditional screed can take weeks or months.
Typical drying times
These are widely used rules of thumb for good drying conditions, meaning a weathertight building, reasonable temperature and good ventilation. They are a starting point for planning, not a promise.
| Screed type | Rule of thumb | Example |
|---|---|---|
| Sand and cement | About 1 day per mm for the first 40mm, then slower | 65mm floating screed: roughly 2 to 3 months |
| Liquid calcium sulphate | About 1 day per mm up to 40mm, then slower | 50mm screed: roughly 8 to 9 weeks without heating, faster with heating |
| Quick drying cement screed | Depends on product | Often days rather than weeks |
| Levelling compound | Depends on product and thickness | Often 3 to 24 hours, depending on the product |
Swipe the table sideways to see every column.
The rate slows beyond 40mm because moisture from deeper in the screed has further to travel to the surface. That is why thick screeds take disproportionately longer to dry.
What makes screed dry faster or slower
- Thickness. The single biggest factor. Deeper screeds take much longer.
- Ventilation. Moist air must be able to escape. A sealed, humid building is the most common reason screeds dry slowly.
- Temperature. Warmth helps, but it should be steady and moderate. Direct, intense heat can crack and curl a new screed.
- Humidity. In damp weather or a building full of wet trades, the air cannot absorb moisture from the screed.
- Other trades. Wet plastering, tiling and concrete work add moisture to the building.
- The base below. A screed on a membrane can only dry upwards, so it dries more slowly than one that can lose moisture in both directions.
- Season. Screeds laid in winter usually dry more slowly than those laid in summer.
How to help a screed dry
- Leave it alone at first. Allow the screed to cure for the first few days. Liquid screeds should be kept closed off for the first day or two.
- Then ventilate. Open windows and doors to let moist air escape, while protecting the floor from rain and frost.
- Add gentle background heat in cold weather.
- Use dehumidifiers in closed buildings or damp conditions. They make a big difference.
- Keep it uncovered. Plastic sheets, boards and stacked materials trap moisture underneath.
- Use the underfloor heating correctly. Once the screed is ready, following the manufacturer's heating-up schedule helps drive out moisture. Calcium sulphate screeds can usually be heated after about a week, and sand and cement screeds after they have cured. See underfloor heating screed.
If the programme simply cannot wait, choose a faster screed from the start. A quick drying screed or a liquid screed can save weeks compared with a traditional sand and cement screed.
How to test if screed is dry
Never rely on how the floor looks or feels. Before any moisture sensitive floor covering goes down, the screed should be tested.
Hygrometer testing
The standard method in the UK is a hygrometer test, which measures the relative humidity of the air trapped in a sealed hood placed on the screed, or in a hole drilled into it. The reading shows whether the screed is dry enough for the chosen finish. Most floor coverings require the screed to reach around 75% relative humidity, although some products specify different limits, so always check the flooring manufacturer's requirements.
Other methods
Some manufacturers of calcium sulphate screeds and floor finishes specify other tests, such as the carbide method, which measures moisture content by weight. Hand-held moisture meters are useful for a quick indication, but they are not a substitute for a proper test.
What happens if you floor too soon
- Vinyl, LVT and rubber blister, lift and lose adhesion.
- Wood and laminate swell, cup and gap.
- Tiles can debond, and adhesives may not cure properly.
- Mould and odours can develop under impermeable coverings.
A surface applied damp proof membrane can sometimes allow flooring to go down over a screed that is not fully dry, but it adds cost and must be compatible with the screed and the finish. It is better to plan drying time into the programme from the start.
Planning your programme
When you book your screed, tell us when you need the floor finish to go down. We will recommend a screed type and depth that fits the programme, give you a realistic drying estimate, and explain how to ventilate and heat the building to hit it. Our guide to liquid screed vs sand and cement compares drying times alongside the other differences.
Plan your floor with us
If your flooring date is fixed, tell us and we will recommend a screed that can dry in time. Send us the floor area in m², the depth you have to work with, what is going on top and the site postcode. We call back the same day and give you a fixed written price within 24 hours. Ask for a quotation or call 07466 650936.