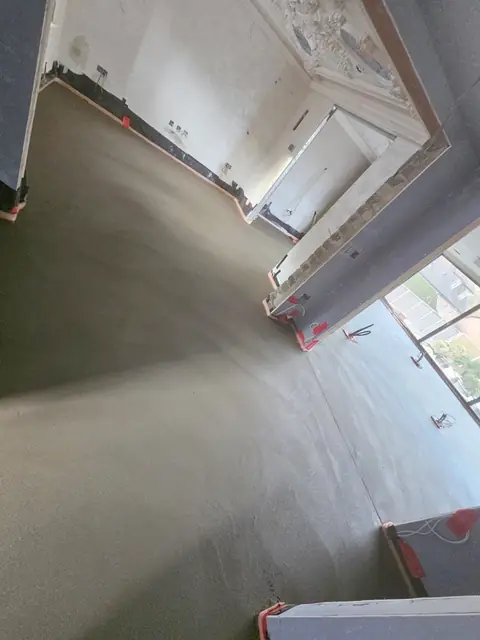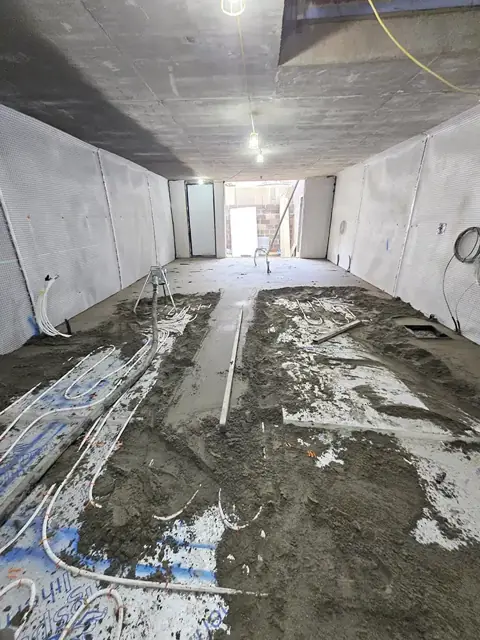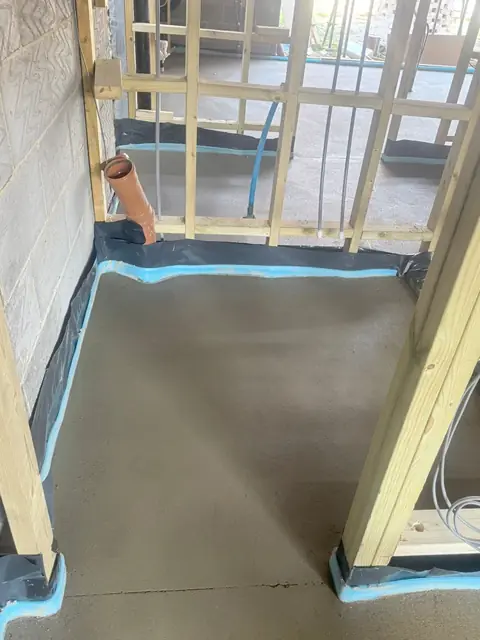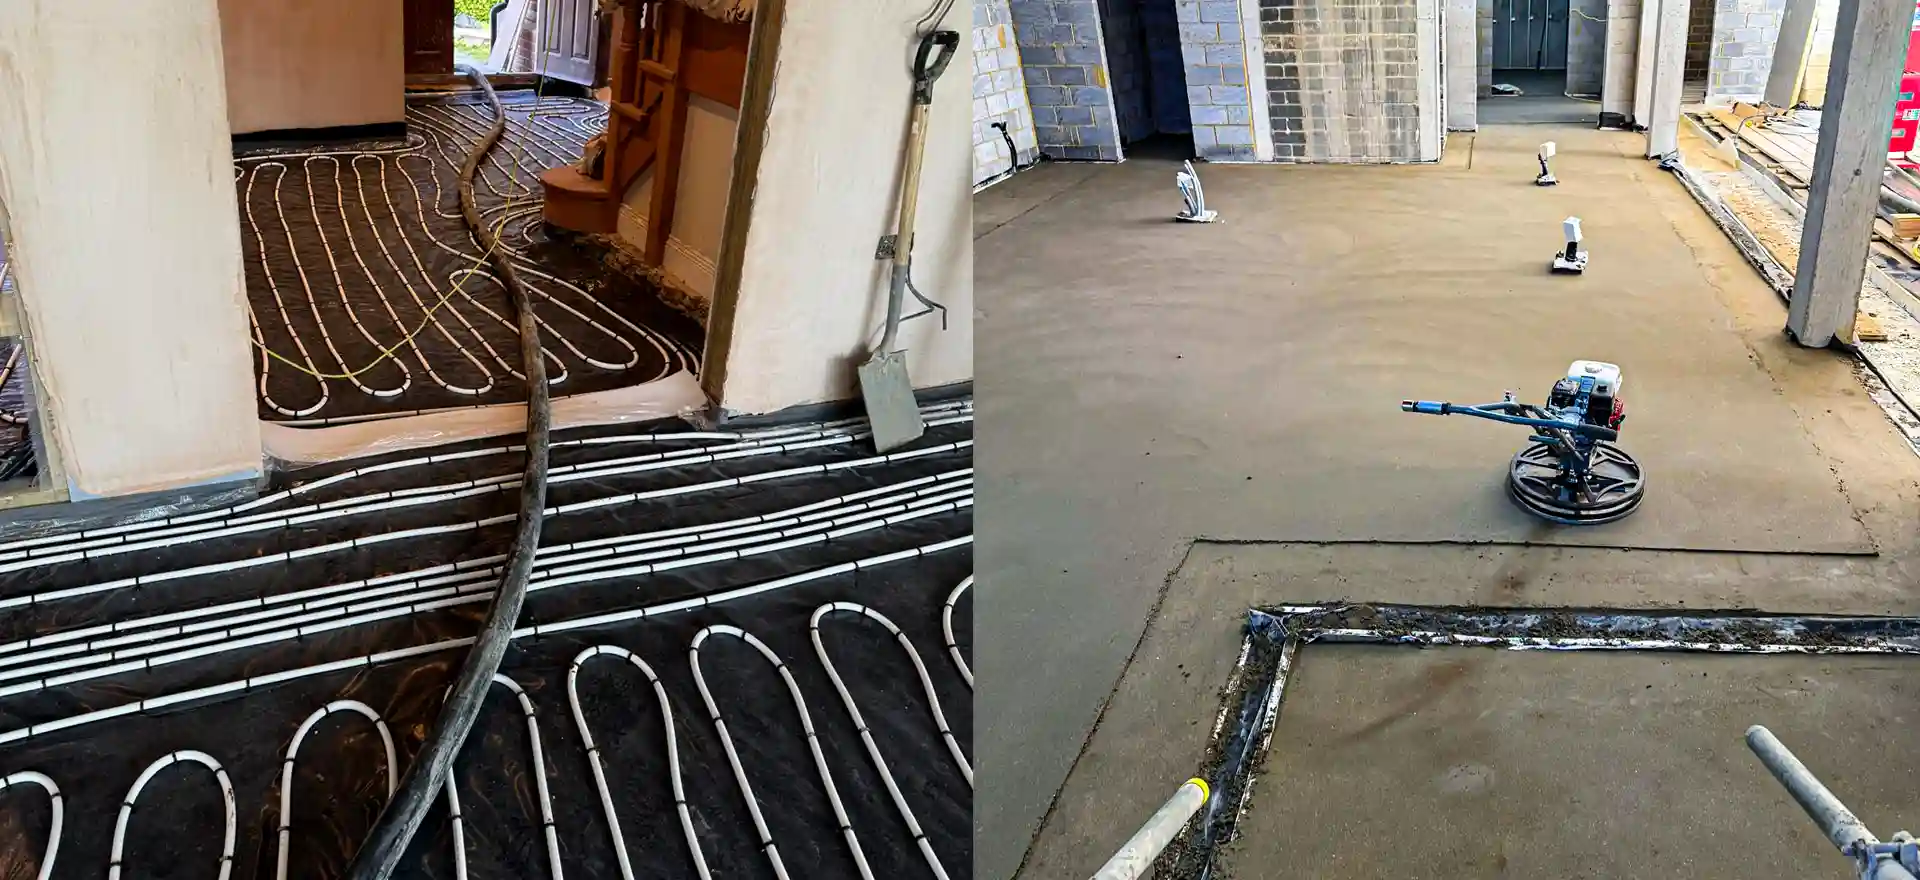
Most questions about laminate on concrete start with the underlay. The underlay matters, but it is the last layer of protection, not the first. A floating laminate floor fails on concrete for three reasons: the base is still wet, the base is not flat, or the vapour barrier has gaps. Get those right and almost any decent underlay will perform.
Short answer: on a concrete slab or screed, use a laminate underlay with an integrated vapour barrier (damp proof foil) and tape every seam, or lay a separate damp proof foil under a standard underlay. Before that, the floor must test below the laminate maker's moisture limit, typically 75% RH for an unheated cement screed, and be flat to within 4mm under a 2 metre straightedge.
The figures below come from Quick-Step's laminate installation guide (version 07.2026), its underfloor heating instructions (version 09.2026) and its underlay data sheets. Other brands publish their own limits, and the guide for the product you buy always wins.
Which underlay goes on a concrete floor?
Short answer: one with a built in vapour barrier, rated for your situation (heated or unheated), with taped seams.
Concrete and screed are "mineral" subfloors. They hold moisture and can keep releasing it for a long time, and a ground floor slab can also draw damp from below if its damp proof membrane is poor. Quick-Step's guide says to always use its underlay "including vapour barrier on mineral subfloor". Its data sheets explain why the taping matters: to be fully moisture resistant, all seams must be sealed with moisture proof tape. Their tape is for mineral floors; they say not to seal the joints over wooden subfloors.
Here is how three of Quick-Step's own underlays compare, taken from their technical data sheets:
| Underlay (Quick-Step) | Thickness | Vapour barrier | Moisture resistance (EN 16354) | Thermal resistance | Evens out small bumps up to | Over underfloor heating |
|---|---|---|---|---|---|---|
| Basic Plus | 2mm | Integrated, silver foil | Over 75m | 0.045 m²K/W | 1.8mm | Yes, laminate only |
| Silent Walk | 2mm | Integrated, gold foil | 100m | 0.01 m²K/W | 1.1mm | Yes, laminate and parquet |
| Thermolevel | 5mm | Integrated | 100m | 0.143 m²K/W (summary table) | 4mm | No |
Swipe the table sideways to see every column.
A few things stand out:
- A higher moisture resistance figure means a stronger vapour barrier. It is quoted in metres, tested to EN 16354, and all three figures here are high, which is what you want over screed.
- Thermal resistance matters over underfloor heating. Quick-Step says the floor plus underlay together must not exceed 0.15 m²K/W over heating. A thin, dense underlay passes heat through; a thick insulating one does not, which is why Thermolevel is ruled out over heated floors.
- Underlay is not a levelling product. Even the 5mm board only copes with small local bumps. It will not fix a dip across a room.
If you are using another brand, look for the same three things on the data sheet: an integrated vapour barrier (or a separate damp proof foil), a stated thermal resistance if the floor is heated, and the manufacturer's approval for laminate.
Is the screed dry enough for laminate or wood?
Short answer: for most laminate on an unheated cement screed, the floor should read below 75% RH by hygrometer. Calcium sulphate (anhydrite) screeds and heated floors have tighter limits.
An underlay's vapour barrier is there to stop residual damp reaching the boards. It is not designed to hold back a screed that is still wet from being laid. Quick-Step's guide is clear that if the subfloor is above its limits, you should get damp proofing advice from the subfloor material manufacturer, not rely on the underlay.
Quick-Step's moisture limits for laminate:
| Subfloor | Unheated | With wet underfloor heating |
|---|---|---|
| Cement or sand and cement screed | Below 2.5 CM% or 75% RH | Below 1.5 CM% or 65% RH (09.2026 heating instructions: 60% RH) |
| Anhydrite (calcium sulphate) screed | Below 0.5 CM% or 75% RH (09.2026 heating instructions: 50% RH) | Below 0.3 CM% or 65% RH (09.2026 heating instructions: 40% RH) |
| Timber based subfloor | Below 10% moisture content | Below 10% moisture content |
Swipe the table sideways to see every column.
Quick-Step's two documents agree on the CM figures but give different RH equivalents for heated screeds and for unheated anhydrite, so we have shown both. Where two figures differ, plan for the stricter one and test.
How long that takes
Our working rule is that a screed dries at about one day per millimetre for the first 40mm, then more slowly. That puts a 65mm sand and cement screed at roughly two to three months in good drying conditions, and a 50mm liquid screed at roughly eight to nine weeks without heating. Our guide on how long screed takes to dry covers what speeds it up and what slows it down.
How to test
Do not judge it by colour or touch. A hygrometer hood sealed to the floor, or a probe in a hole drilled into the screed, measures the relative humidity of air in balance with the screed. F. Ball summarises BS 8203, BS 5325 and BS 8201 this way: a base can be considered dry enough for most floor coverings if a series of readings does not exceed 75% RH, or 65% RH for solid timber. Take readings across the room, including near external walls and doors.
If you cannot wait
A surface applied epoxy damp proof membrane is the usual fix for a slab that will not dry in time or has no effective DPM. F. Ball states its Stopgap F77 holds back moisture up to 98% RH in one coat, or up to 90% RH over underfloor heating, with hygrometer readings to BS 8203 Appendix A taken first. It needs a sound, prepared surface and must suit the flooring that goes over it, so it is a planned step, not a quick patch.
Underlay with a damp proof layer, or a separate membrane?
Short answer: an underlay with an integrated, taped vapour barrier is normally enough on a dry screed over a slab with a working DPM. A separate membrane is needed when the base itself is the problem.
| Situation | What usually works |
|---|---|
| Dry screed, upper floor or ground floor with a sound DPM | Underlay with integrated vapour barrier, seams taped |
| Standard underlay with no vapour barrier | Add a separate damp proof foil under it, lapped and taped |
| Screed above the moisture limit, programme cannot wait | Surface epoxy DPM to the maker's spec, then underlay |
| Old ground floor slab with no DPM or damp patches | Investigate first; a surface DPM or a new build-up with a proper membrane |
| New floor being built | A DPM below the insulation and screed, installed as part of the build-up |
Swipe the table sideways to see every column.
The layers under a new floor, including the damp proof membrane, slip membrane and edge strip, are covered on our insulation and membranes page. Getting the DPM right at that stage is far cheaper than trying to fix damp from the surface later.
Flatness laminate needs and how to fix dips
Short answer: Quick-Step asks for less than 4mm under a 2 metre straightedge and less than 1mm under a 20cm straightedge. Outside that, sand high spots or use a smoothing compound.
BS 8204 grades screed flatness in three classes, measured as the biggest gap under a 2 metre straightedge: SR1 is 3mm, SR2 is 5mm and SR3 is 10mm. Quick-Step's 4mm figure sits between SR1 and SR2, so a screed laid to SR2 may still need some work before laminate goes down. The 20cm check catches short, sharp ridges and trowel marks that a long straightedge can miss.
How to check and fix it:
- Sweep the floor and lay a 2 metre straightedge in several directions, including across doorways and along walls.
- Measure the largest gap under it with a gauge or a ruler. Then repeat with a short 20cm edge over any ridges.
- Grind or sand high spots and ridges back flush.
- Fill dips with a levelling compound over a primed, sound surface, keeping within the minimum and maximum thickness on its data sheet.
- Re-test flatness, and test moisture again: a compound adds water and needs time to dry.
If the floor is out by more than a compound is designed for, or the screed is weak or hollow, it needs floor levelling on a larger scale or a repair, not a thicker underlay. Removing laitance, old adhesive or paint first is floor preparation work. Our wider guide to preparing a screed before flooring compares the limits for LVT, tiles and carpet too.
Engineered and solid wood on screed: stricter limits
Short answer: solid timber needs the screed at or below 65% RH, tighter than laminate's usual 75%, and heated floors add their own rules.
This is where the question "how long for screed to dry before laying a wooden floor" comes from. Because the limit for solid timber is lower, the screed has to dry further, which means more time beyond the one day per millimetre rule of thumb, and often a dehumidifier or careful use of the heating. There is no reliable formula for the extra time, so plan on several more weeks and let hygrometer readings decide.
Points to plan for:
- Solid wood: 65% RH, as F. Ball summarises the British Standards for wood floorings. Many solid wood floors are glued or fixed, not floated, so the adhesive maker's limits also apply.
- Engineered wood: follow the board and adhesive manufacturers. Do not assume a laminate underlay suits it: Quick-Step's Basic Plus data sheet, for example, approves it over underfloor heating for laminate but not for parquet.
- Heated screeds: Quick-Step says to wait at least 21 days after a new screed is laid before starting the heating and to follow the installer's guidance; our own guidance is that calcium sulphate screed can usually be heated from about 7 days and sand and cement after at least 21 days, so follow the product sheet for your screed. Run the heating for at least two weeks before laying, raise the floor temperature by no more than 5°C per 24 hours, wait at least 48 hours after laying before bringing it back up, and keep the surface at or below 27°C.
Get a fixed price for your floor
If your screed is uneven, has ridges, or keeps reading damp, we can price the work to put it right before your laminate or wood floor goes down. That could be preparation and a levelling compound, a repair, or new membranes and screed where the floor is beyond a quick fix.
Send us:
- the room size in m², or a rough sketch with measurements;
- photos of the floor, ideally with a straightedge showing the worst dips;
- what is going on top (laminate, engineered or solid wood) and whether there is underfloor heating;
- any moisture readings you have, and the postcode.
Contact us or call 07466 650936. We call back the same day, send a written quote within 24 hours and agree a fixed price before work starts.
Sources
- Quick-Step: laminate installation page and installation guide, version 07.2026, Unilin, accessed October 2026
- Quick-Step: floor heating instructions, version 09.2026, Unilin, accessed October 2026
- Quick-Step: laminate underlays and technical data sheets (Basic Plus 04.2024, Silent Walk 12.2023, Thermolevel 10.2023), Unilin, accessed October 2026
- F. Ball: digital hygrometer, with BS 8203, BS 5325 and BS 8201 guidance, F. Ball and Co., accessed October 2026
- F. Ball: Stopgap F77 surface damp proof membrane, F. Ball and Co., accessed October 2026
- BSI: BS 8204-1:2003+A1:2009, concrete bases and cementitious levelling screeds to receive floorings, BSI, accessed October 2026