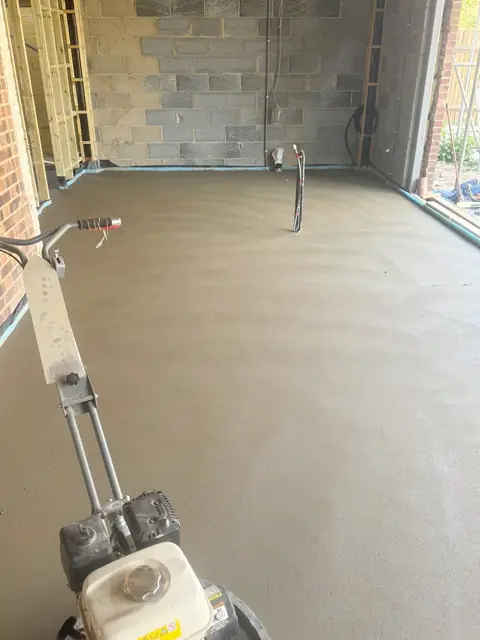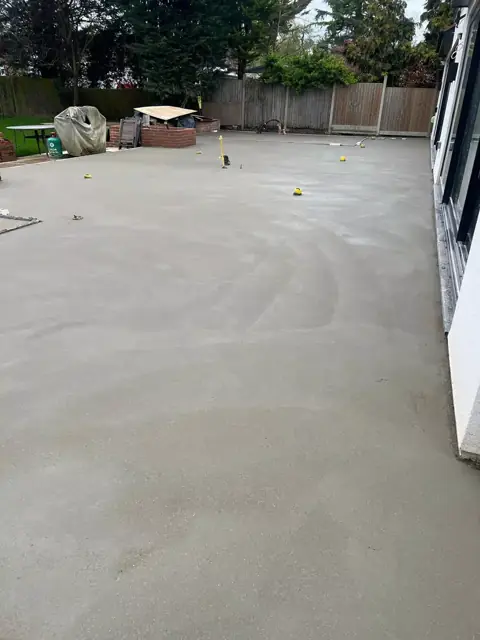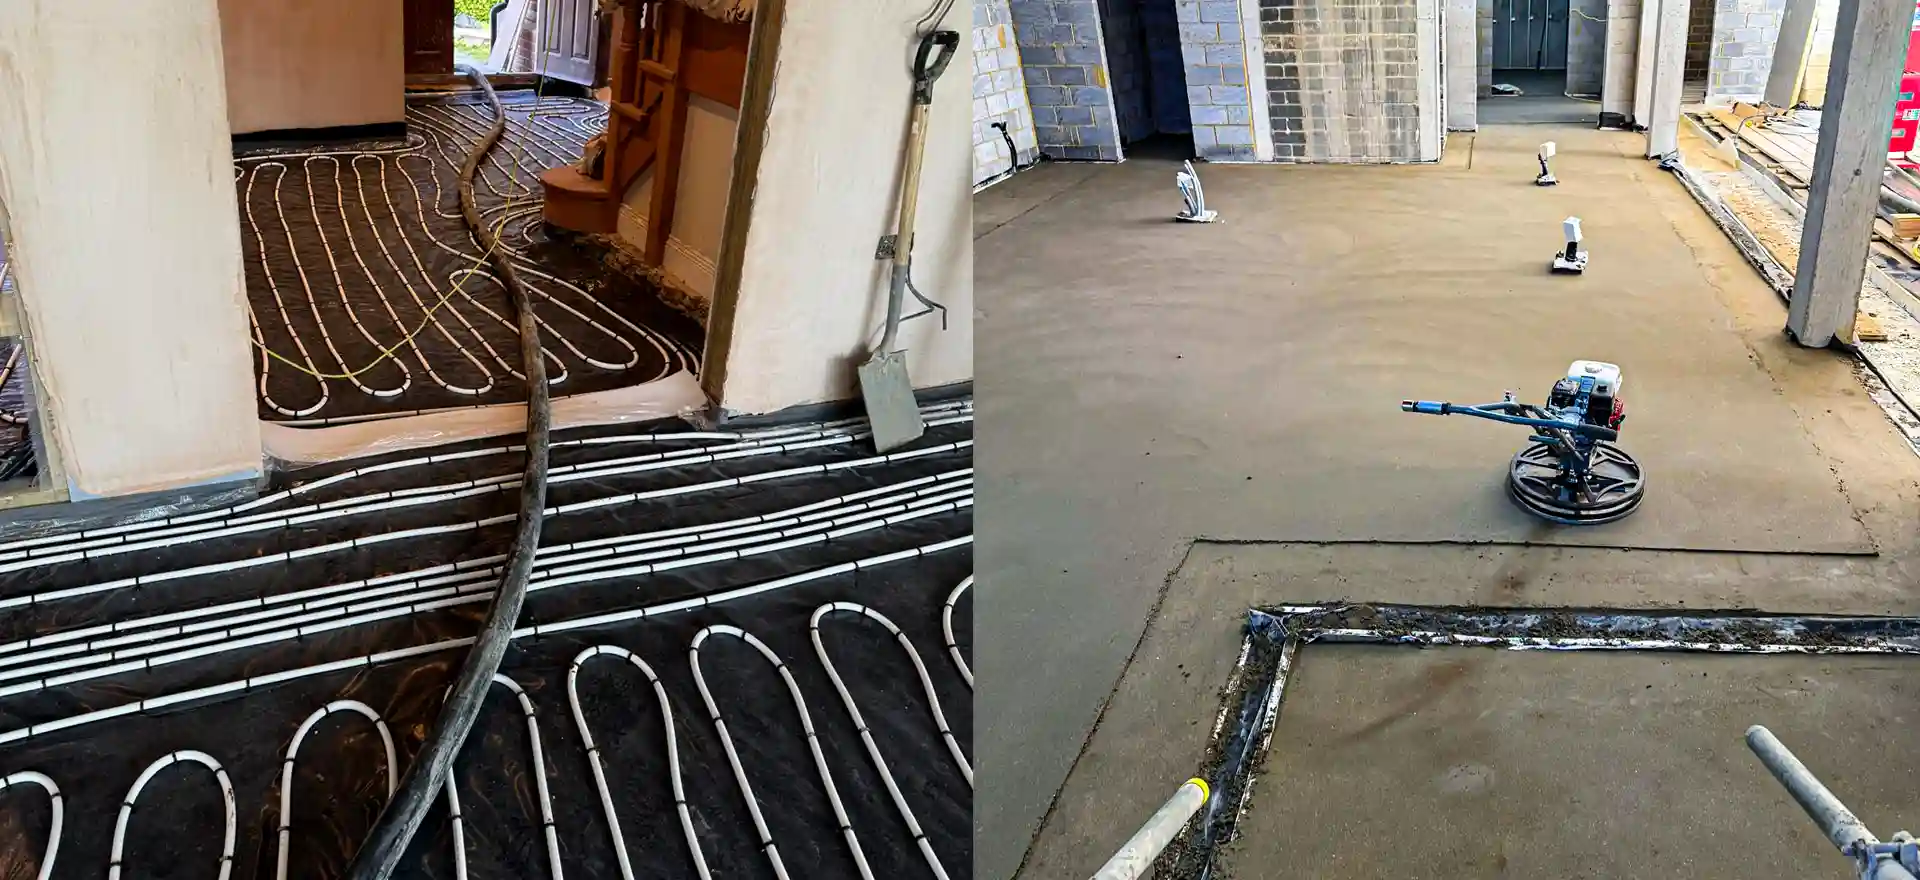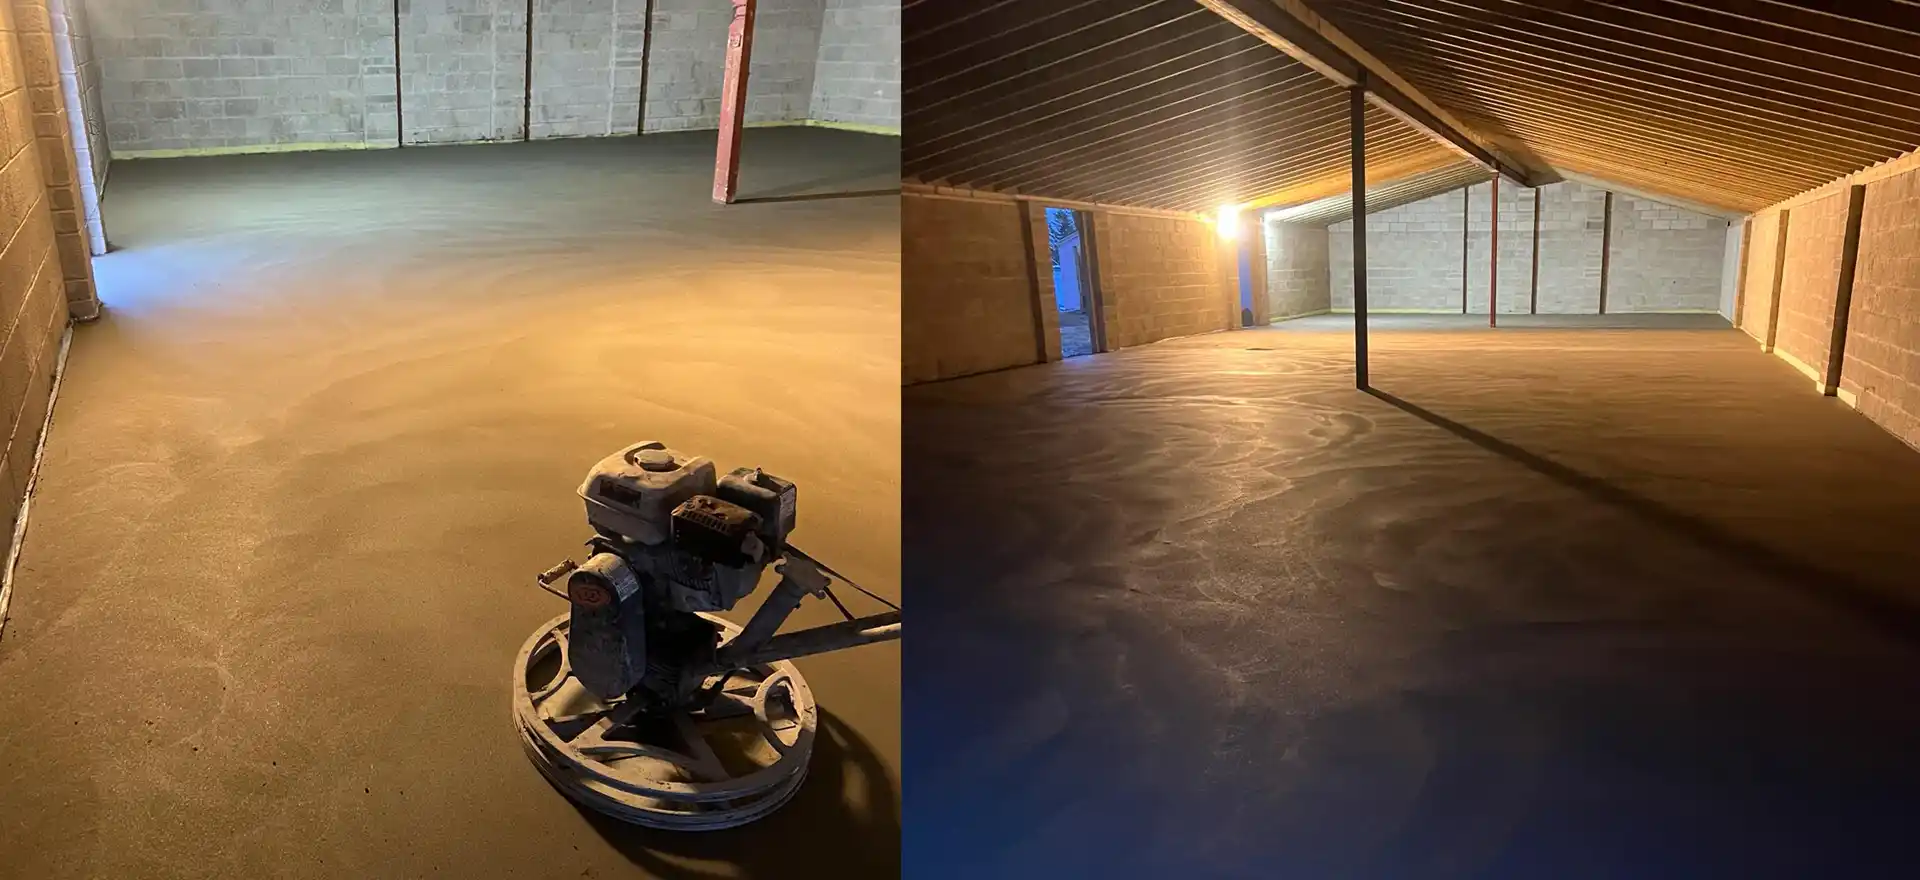
We are screeding contractors, so we have an obvious interest in this question. We will answer it straight anyway. Some screeding jobs are reasonable DIY projects. Others look simple and go wrong in ways that are expensive to undo, because a screed that is too thin, too wet or poorly compacted may not show its faults until the flooring is down.
The short answer
Yes, you can screed a small area yourself, such as a single room, a patch where a wall has come out or a step in a floor, if it is sand and cement laid by hand and you are prepared to learn the technique.
It is usually a job for a contractor when the floor is large, floating over insulation, covering underfloor heating pipes, needs to be very flat for vinyl or LVT, or when you want liquid screed. Liquid screed is mixed and pumped with plant that DIYers do not normally have.
DIY vs professional at a glance
| DIY | Professional screeder | |
|---|---|---|
| Suits | Small, simple, bonded areas | Any size, floating floors, underfloor heating, liquid screed |
| Material | Bagged or site mixed sand and cement | Sand and cement, liquid, quick drying or fibre screeds |
| Flatness | Hard to hold across a large area | Set to datum levels and checked with a straightedge |
| Speed | A small room can take a day or more | Typically laid in one visit |
| Risk | Rework if it cracks, curls or sounds hollow | Fixed price, contractor puts defects right |
| Cost | Materials and tool hire | Materials, labour, plant and expertise |
Swipe the table sideways to see every column.
Published 2026 figures help with the sums. MyJobQuote puts supply only material for traditional screed at about £12 to £15 per m², and labour at about £10 to £12 per m² or £120 to £200 a day for a screeder, against £18 to £25 per m² supplied and laid (updated August 2026). On a small floor, doing it yourself saves the labour element. On a large one, the time, tool hire and risk of rework close that gap quickly. Our floor screeding cost guide has the wider figures.
What mix ratio should a sand and cement screed be?
Short answer: the standard nominal mix is 1 part cement to 4 parts sharp sand by weight. The usual range is 1:3 to 1:4.5, and fine concrete screeds use 1:4 to 1:5.
The Mineral Products Association's data sheet on screeds explains that BS 8204-1 recommends nominal proportions by weight of cement to fine aggregate of 1:4, with a lower limit of 1:3 and an upper limit of 1:4.5. Where fine concrete screeds are laid, the standard recommends proportions in the range 1:4 to 1:5. That is why you will see specifications anywhere from 1:3 to 1:5 depending on the screed type and the load the floor has to take.
| Mix (cement to sand) | Where it sits | Notes |
|---|---|---|
| 1:3 | Richest mix in the BS 8204-1 range | The lower limit, used where more strength is specified |
| 1:4 | Nominal mix in BS 8204-1 | The common general purpose screed |
| 1:4.5 | Leanest mix in the BS 8204-1 range for sand and cement | Still within the standard's limits |
| 1:4 to 1:5 | Fine concrete screeds | Contain aggregate up to 10mm |
Swipe the table sideways to see every column.
Three practical points:
- The ratios are by weight. Mixing by the shovelful is how most DIY batches drift. Use the same gauge box or bucket for every batch so the mix stays consistent.
- A traditional screed is a semi dry mix. It should hold together when squeezed in the hand without water running out. A wet, sloppy mix is easier to spread but shrinks and cracks more and is weaker at the surface.
- Use sharp sand. Screed is a mix of sharp sand and cement; ask your merchant for screeding sand, or use a bagged ready mixed screed, which takes the guesswork out on small jobs.
Our sand and cement screed page explains how fibres and additives change a mix.
How thick does a DIY screed need to be?
Short answer: at least 25mm bonded, 50mm unbonded and 65mm floating in a home, and thicker is often specified.
| Construction | Minimum (MPA data sheet 22) | Usually specified |
|---|---|---|
| Bonded to a prepared slab | 25mm | 40mm |
| Unbonded, on a membrane | 50mm | 70mm |
| Floating, over insulation | 75mm, with 65mm normally satisfactory in housing | 65mm domestic, 75mm commercial |
Swipe the table sideways to see every column.
Most DIY failures we see are screeds laid thinner than this to save material or to meet a door threshold. A thin floating screed over insulation is the classic one: it cracks and rocks under load. Our screed thickness guide explains each construction.
Tools you will need
Short answer: a mixer, levelling rails or a laser, a long straightedge, steel floats and trowels, and proper protective kit.
- A mixer. Mixing semi dry screed by hand in any quantity is slow and inconsistent.
- A gauge box or marked bucket to batch sand and cement consistently.
- Spirit level and long straightedge, or a laser level, to set datum levels across the room.
- Screed rails or battens set to the finished height, so you can rule off between them.
- A tamper or float to compact the screed.
- A steel trowel for the final close.
- Bonding agent and a stiff brush for bonded screeds on a slab.
- Edge strip and membrane for floating and unbonded screeds.
- Polythene sheeting for curing.
- Waterproof gloves, knee pads or knee boards, and eye protection.
That last point matters. HSE warns that wet cement can cause serious burns if it is trapped against the skin, and that it causes dermatitis. It advises waterproof gloves suitable for alkalis, washing cement off skin as soon as possible, and waterproof knee pads or knee boards when screeding, with as little time spent kneeling as possible.
How a DIY screed is laid, in outline
- Prepare the base. Remove loose material, dust and contamination. A bonded screed needs a mechanically prepared slab; the MPA data sheet says the base concrete must be prepared by mechanical methods to maximise bond. See floor preparation.
- Set the levels. Transfer a datum around the room and set rails to the finished height.
- Bond or separate. Brush on a bonding coat for a bonded screed and lay the screed while it is still wet. For floating screeds, lay the membrane and edge strip.
- Mix in small batches so nothing starts to set before it is finished.
- Place and compact the screed firmly, a section at a time.
- Rule off between the rails with a straightedge, fill the rail lines, then trowel to close the surface.
- Cure. The MPA data sheet advises covering the screed with plastic sheeting or similar to retain moisture for at least five days.
- Let it dry before flooring. Our working rule is about a day per millimetre for the first 40mm, then slower.
The DIY mistakes we see most
Short answer: too wet, too thin, not compacted, and floored too soon.
- A wet mix. Easy to spread, but weak and prone to shrinkage cracks.
- Poor compaction. Leaves voids, so the screed sounds hollow and breaks up under point loads.
- Too thin. Especially over insulation, where the screed has nothing to support it.
- No bonding coat, or a dry one. A bonded screed laid on dust or onto a bonding coat that has already dried will debond.
- No edge strip on floating screeds, so the screed cannot move and cracks at the walls.
- Drying too fast. Heaters aimed at a new screed, or no curing at all, cause cracking and curling.
- Flooring too soon. A screed that looks dry can still be far too wet for vinyl, LVT or wood. Test with a hygrometer; see how long screed takes to dry.
- Chasing flatness with compound. Pouring thick levelling compound to rescue an uneven DIY screed often costs more than the screed did. See floor levelling.
What about DIY liquid screed or self levelling compound?
Short answer: liquid screed is not a DIY product; a thin self levelling compound over a small, sound floor can be.
Liquid screed arrives in a truck mixer and is pumped in at depth, with the pump, hoses and team on site for the pour. It suits large floors and floors over underfloor heating, which is where most homeowners want it. We do not hire out pumps or machines, and we do not recommend trying to pour flowing screed by bucket. See liquid screed.
A bagged self levelling compound a few millimetres thick over a sound, primed screed is a smaller task, but the same rules apply: right primer, clean base, correct depth for the product, and spiking out air. Our guide to latex, self levelling compound or a new screed helps you choose the product.
When to call a screeding contractor
Bring in a professional when:
- The floor is over underfloor heating. Pipes need the right cover and the screed needs a heating up schedule. See underfloor heating screed.
- It is a floating screed over insulation, where depth and compaction decide whether it lasts.
- The area is large, roughly anything more than one room, or open plan.
- The finish needs SR1 flatness for sheet vinyl or LVT.
- The programme is tight and the floor has to be ready for a following trade.
- Building Control or a warranty provider will inspect the floor build up.
We quote within 24 hours, call back the same day, and agree a fixed price before any work starts. See floor screeding for what we lay.
Get a price before you decide
If you are weighing up doing it yourself, a fixed price for the professional job makes the comparison easy. Send us the floor area in m², the depth you have to work with, what is going on top and the site postcode. We call back the same day and give you a fixed written price within 24 hours. Ask for a quotation or call 07466 650936.