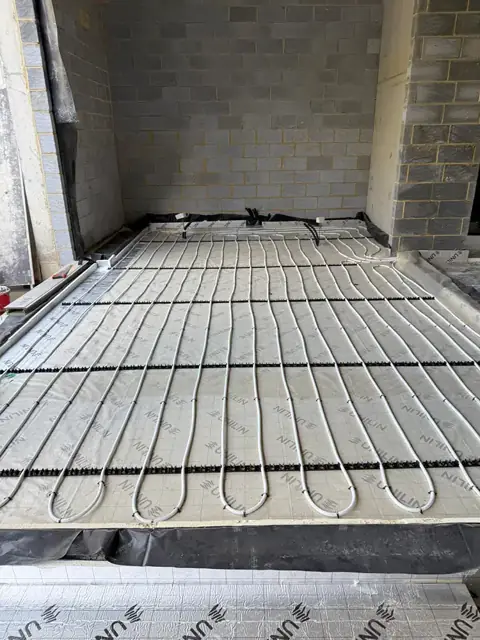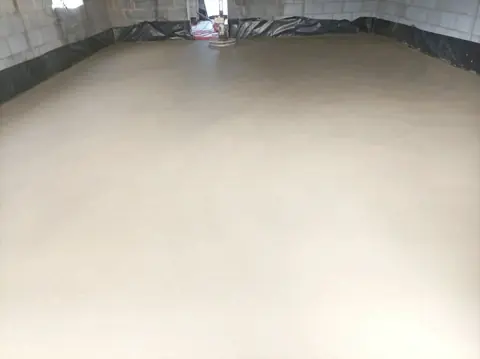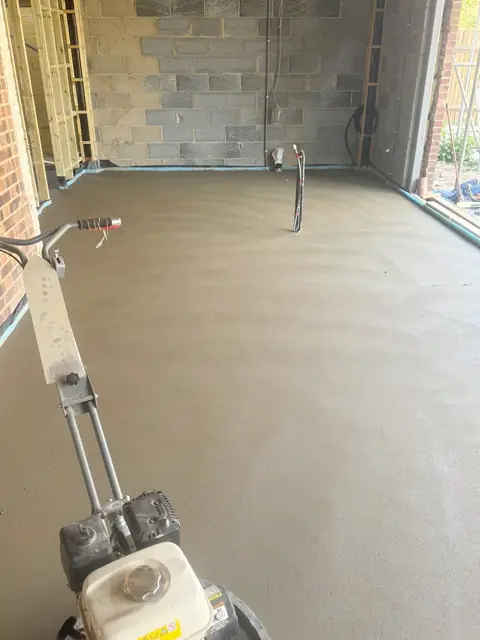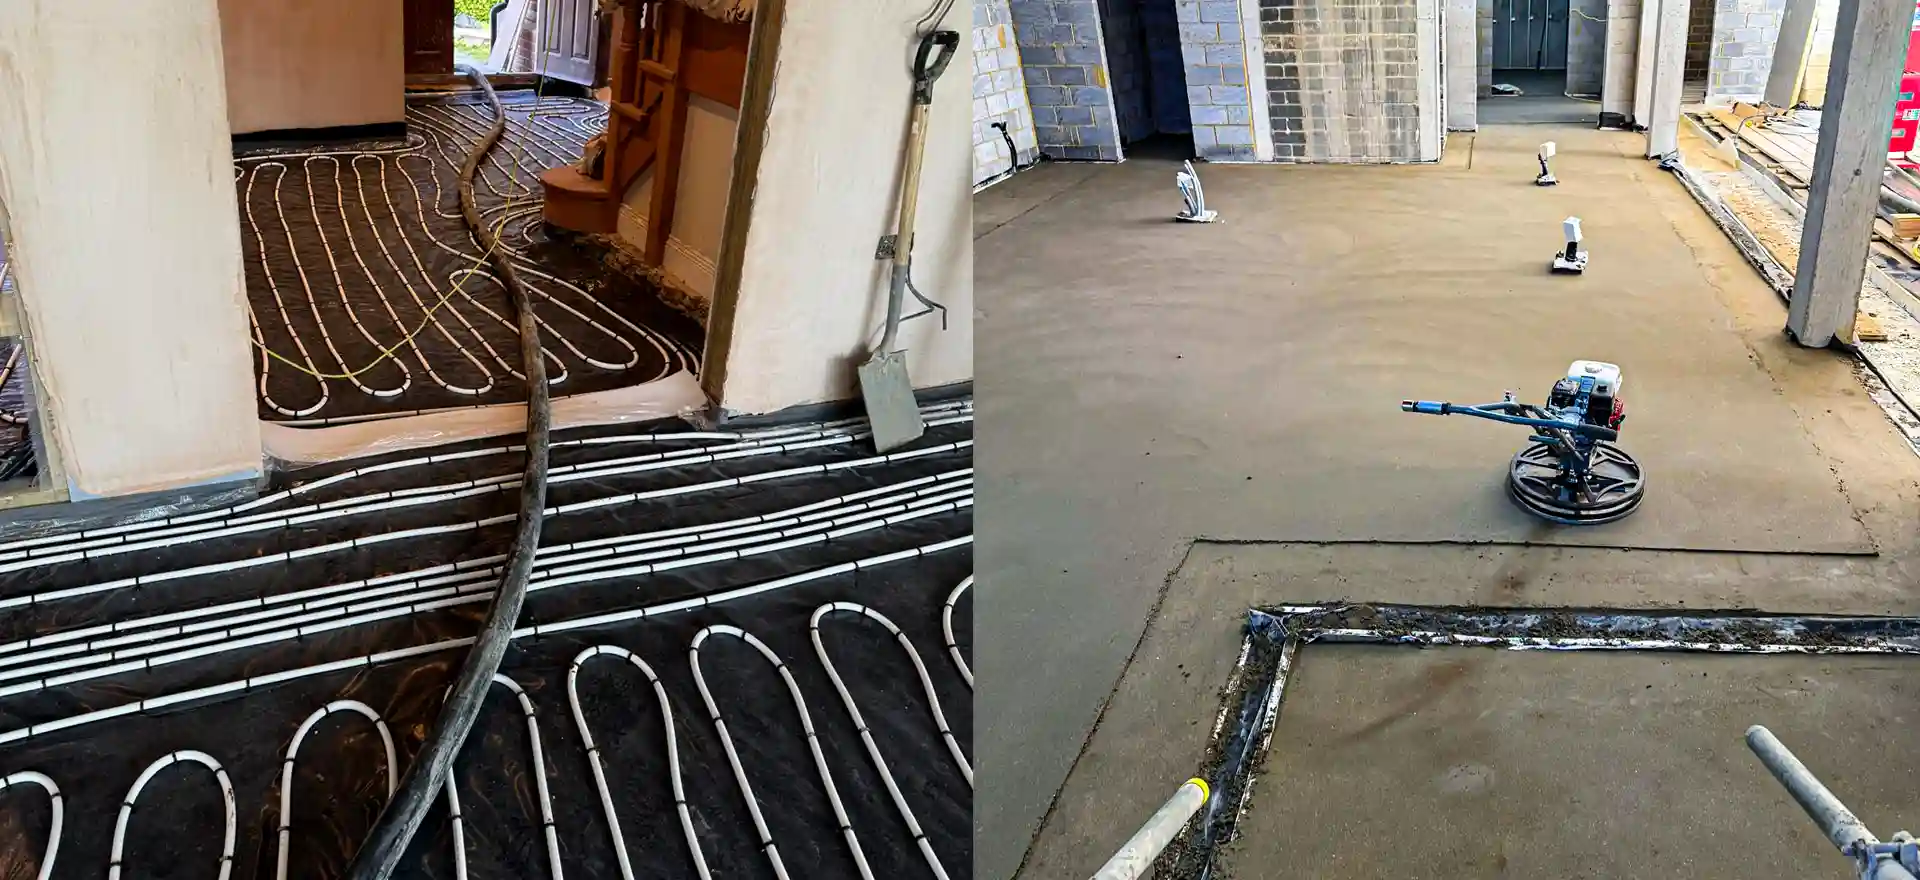
Ask three people how thick screed should be over underfloor heating and you may get three different numbers: 50mm, 65mm, 75mm. They are all answers to slightly different questions. The figure that controls the job is the cover over the top of the pipes, and the total depth follows from that once you know the pipe size and the screed type.
Short answer: for a liquid screed, allow at least 25mm of screed above the top of the pipes, which with a 16mm pipe usually means a total depth of about 45 to 50mm. For a floating sand and cement screed, lay 65mm in a home (75mm in commercial buildings), which leaves around 45mm over a 16mm pipe. Do not go much deeper than you need: extra depth slows the floor's response and adds weeks of drying.
The figures below come from BS 8204 as summarised by the Mineral Products Association, manufacturer data sheets and underfloor heating supplier guidance. The data sheet for the actual screed product and your heating designer's specification always take priority.
Underfloor heating screed depth and thickness at a glance
| Liquid screed (calcium sulphate or cement based) | Sand and cement screed, floating | |
|---|---|---|
| Minimum cover over pipes | 25mm (Cemfloor; our standard figure) | Commonly about 45mm, never less than 25mm (our standard figures) |
| Minimum total depth, domestic | 35mm floating without heating (Cemfloor); 50mm over heating (Nu-Heat) | 65mm (MPA, normally satisfactory for homes); 65mm (Nu-Heat) |
| Minimum total depth, commercial | 40mm floating (Cemfloor) | 75mm (MPA general minimum) |
| Typical total depth with a 16mm pipe | 45 to 50mm | 65mm domestic, 75mm commercial |
| Earliest heating switch on | About 7 days (Cemfloor) | At least 21 days (our standard figure) |
| Indicative installed price | £20 to £35 per m² over heating (trade2base, June 2026); £24 to £31 per m² general liquid screed (MyJobQuote, August 2026) | £18 to £25 per m² standard screed (MyJobQuote, August 2026) |
Swipe the table sideways to see every column.
Notice that the liquid screed figures from different sources do not quite agree. Cemfloor sets 25mm above the pipes as its minimum, while Nu-Heat gives 50mm as a minimum total for liquid screed over its systems. In practice the two meet at about the same place: 16mm of pipe plus 25mm of cover is 41mm, and once you allow for small dips in the insulation, most liquid floors over heating end up at 45 to 50mm.
Cover over the pipes: the figure that matters
A screed over heating pipes is weakest along the line of each pipe, because that is where it is thinnest. The cover above the pipe crown is what stops a crack forming along that line when the floor heats, cools and takes load. It also gives the heat room to spread sideways so the surface warms evenly instead of in stripes.
That is why a single "total depth" figure can mislead. A 65mm sand and cement screed over a 16mm pipe leaves 49mm of cover. The same 65mm over a 20mm pipe leaves 45mm. If a pipe sits on a clip rail or rides up over another pipe near the manifold, the cover at that point can be much less than the drawing suggests.
To work out your depth:
- Find the pipe's outside diameter. It is printed on the pipe and on the heating design.
- Check how it is fixed. Measure from the insulation to the top of the pipe as fixed, not from the drawing. Clip rails and staples can lift it slightly.
- Add the minimum cover for the screed type: 25mm for liquid, about 45mm for sand and cement.
- Check the result against the minimum total depth for the construction (floating, domestic or commercial). Use whichever is greater.
- Add a working tolerance for uneven insulation. A few millimetres is normal; more than that means the base needs correcting first.
Our screed thickness guide covers minimum depths for screeds without heating, bonded and unbonded, if part of the floor is unheated.
Worked build-ups for a 16mm pipe
These are typical ground floor build-ups over a concrete slab or beam and block floor. Insulation thickness is set by your designer to meet Building Regulations, so it is shown as a variable here. Cemfloor specifies insulation with a compressive strength of at least 100kPa under a floating screed, so check the board grade as well as its thickness.
Liquid screed over a 16mm pipe
| Layer | Thickness | Note |
|---|---|---|
| Insulation | As designed | Level, fully supported, joints tight |
| Polythene slip membrane | Negligible | Lapped and taped so the screed cannot leak |
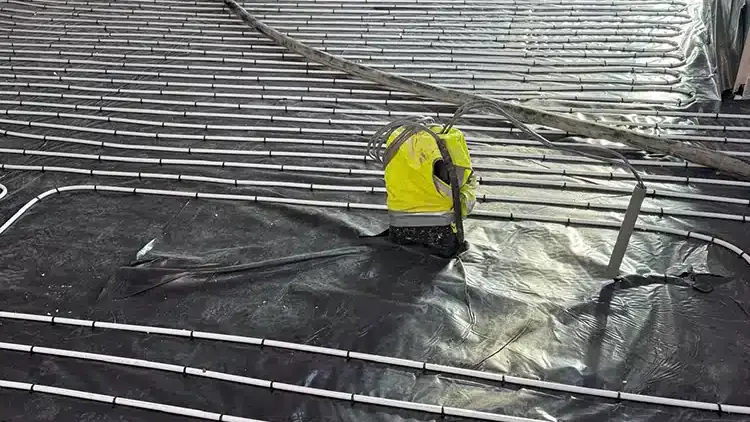
| 16mm heating pipe | 16mm | Clipped down, filled with water so it cannot float |
| Cover over pipe | 29 to 34mm | 25mm minimum |
| Total screed | 45 to 50mm | Laid in one pour to depth markers |
Swipe the table sideways to see every column.
Liquid screed flows round the pipes and fully encases them, which is why it can be laid with less cover. Because it is self levelling it also reaches a flat surface without a screeder having to work around every pipe. See liquid screed for how we install it.
Sand and cement over a 16mm pipe
| Layer | Thickness | Note |
|---|---|---|
| Insulation | As designed | Level, fully supported, joints tight |
| Polythene slip membrane | Negligible | Lapped and turned up at the edges |
| 16mm heating pipe | 16mm | Clipped down |
| Cover over pipe | About 49mm domestic, 59mm commercial | Fully compacted round and over the pipes |
| Total screed | 65mm domestic, 75mm commercial | Fibres help control cracking |
Swipe the table sideways to see every column.
A semi dry sand and cement screed has to be compacted by hand around and over every pipe. The extra depth is what makes that compaction reliable and gives the screed enough body to resist cracking over the pipes. Our sand and cement screed page explains when it is the better choice.
With a 20mm pipe the arithmetic shifts. Liquid screed needs at least 45mm total, and a 65mm sand and cement screed leaves 45mm of cover, which is still within normal practice.
Can screed be too deep? Response time, heat pumps and drying
Yes. There is no hard maximum in the guidance we have read, but every extra millimetre has a cost.
Slower heat up. The screed is a heat store. A deeper screed holds more heat once warm, but it takes longer to get there and longer to respond when the thermostat changes. Nu-Heat says a typical screed system run by a boiler takes about an hour to heat up, and advises not going beyond 65mm in a home, because extra depth makes the system work harder and can affect the property's SAP rating.
Heat pumps. Heat pumps run at lower water temperatures than boilers. BEAMA's comparison of systems shows a floating screed floor giving about 81 W/m² at a 35°C mean water temperature with a bare floor, falling to about 50 W/m² under a 1.0 tog covering. At those low temperatures there is less margin to spare, so a screed laid thicker than it needs to be eats into comfort. Nu-Heat also reports a 10 to 15% increase in output with liquid screed compared with sand and cement, because it encases the pipes with no air gaps.
Drying time. This is where extra depth hurts the programme. Our working rule is about one day per millimetre for the first 40mm, then slower. Nu-Heat puts sand and cement at one day per mm for the first 50mm, then two days per mm beyond that, which makes a 65mm screed roughly 80 days before forced drying. Using the heating to dry the floor helps, but only after the minimum cure and only with a gradual start, as in Cemfloor's schedule of starting the flow temperature 5°C above room temperature and raising it 5°C a day to a 40°C maximum. Our guide on how long screed takes to dry goes through testing before flooring.
Weight and cost. More depth means more material and more load on the structure. MyJobQuote notes plainly that the thicker the screed, the more it costs. Whatever the depth, heating zones also need screed movement joints.
If a floor needs much more than these depths to reach level, it is usually better to raise or correct the insulation than to pour extra screed.
Matching finished floor levels with the rest of the house
Most depth problems start with a finished floor level that is already fixed by thresholds, door frames or the floor in the existing house. Work backwards from that level before the insulation goes down:
- Fix the finished floor level and mark it on the wall.
- Subtract the floor finish: tile and adhesive, or LVT and its levelling layer, or engineered board and underlay.
- Subtract the screed depth from the table above.
- What is left is the space for insulation. If it is less than the designer needs, decide now: a thinner liquid screed, a different insulation product, or digging the base down.
The usual failure is the reverse order. Insulation goes in at full thickness, the pipes go on top, and the screed is squeezed to fit what is left. A sand and cement screed squeezed to 45mm over pipes, or a liquid screed with 15mm of cover, is a crack waiting to happen. For a full floating build-up BEAMA gives a total of about 86 to 115mm on a ground floor and 61 to 90mm on an upper floor, which is a useful sense check for how much height to set aside. On a suspended ground floor, our guide to screeding a beam and block floor works through the same sum.
If space is very tight, liquid screed can save roughly 15 to 20mm of height over sand and cement. Where even that is not enough, a low profile heating system may suit better; our post on underfloor heating on a concrete floor compares the options.
Get a fixed price for your floor
We lay liquid and sand and cement screed over wet underfloor heating, and we can supply the insulation, membrane and edge strip so every layer is checked before the pour. We do not install the heating pipes themselves; your heating engineer does that and we coordinate with them.
To get a quote, send us:
- the floor area in m², or a sketch with dimensions;
- the pipe size and the insulation thickness;
- the finished floor level, and what floor finish is going on top;
- whether you prefer liquid or sand and cement, or want our advice;
- the site postcode.
We will confirm the screed depth that fits your build-up and send a written fixed price within 24 hours. You can contact us online or call 07466 650936. For a rough figure first, try our screed calculator, and see underfloor heating screed for more on how we work.
Sources
- BS 8204-1:2003+A1:2009 Screeds, bases and in situ floorings: concrete bases and cementitious levelling screeds, BSI, accessed October 2026
- Mortar Industry Data Sheet 22: Screeds, Mineral Products Association, accessed October 2026
- Cemfloor Therm underfloor heating guidelines, Cemfloor, accessed October 2026
- Installation of Cemfloor screed, Cemfloor, accessed October 2026
- Cemfloor Therm technical data sheet, Cemfloor, accessed October 2026
- Screed underfloor heating, Nu-Heat, accessed October 2026
- Guide to low profile and responsive underfloor heating, BEAMA Underfloor Heating, published 2017, accessed October 2026
- Floor screed costs UK, trade2base, June 2026
- Floor screeding cost, MyJobQuote, updated August 2026