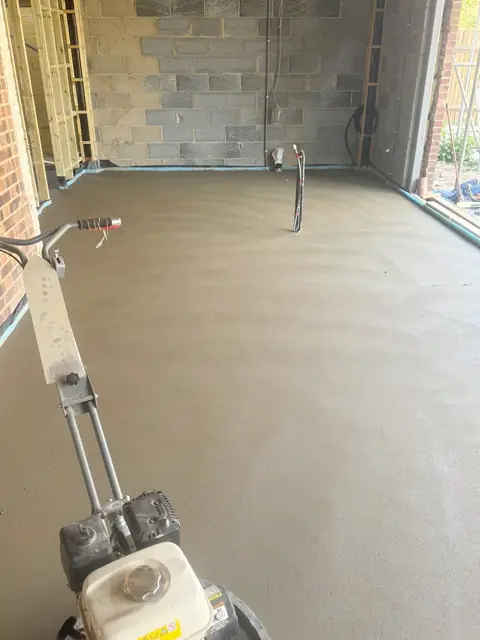
Every cement or calcium sulphate floor moves. It shrinks as it dries, grows and shrinks with temperature, and moves with the building around it. A joint is a planned line of weakness that lets that movement happen in a straight, controlled place. Leave the joints out and the floor picks its own line, usually a crack across a doorway or a corner.
Short answer: a screed needs an isolation joint round every wall and upstand, a joint over every movement joint in the slab or structure, joints at doorways and narrow points, joints between separately controlled heating zones, and extra joints wherever a bay is bigger than the screed's limit. Joints in the base must carry straight up through the screed and into the floor finish.
Why screeds and slabs need joints
Joints exist because floors change size. The main causes are:
- Drying shrinkage. Sand and cement screed loses water as it dries and shrinks with it. Calcium sulphate and some modern cement based liquid screeds shrink far less. Cemfloor gives drying shrinkage of under 0.05% for its Therm screed, and CEMEX gives the same figure for Supaflo Rapide.
- Temperature. Heated floors expand and contract each time the heating cycles. CEMEX lists a thermal expansion coefficient of 0.01mm per metre per degree for Supaflo Rapide, so a 10m run warming by 20°C grows by about 2mm.
- The building. Slabs, frames and walls move as they settle, load up and dry. A screed glued or sitting tight against them is dragged along.
Fibres help with early shrinkage cracking but do not replace joints, as our fibre reinforced screed page explains.
Concrete floor expansion joints, contraction joints and isolation joints
People use "expansion joint" for any joint in a floor, but there are four distinct types, and each does a different job.
| Joint type | Other names | What it does | Where it goes |
|---|---|---|---|
| Isolation joint | Perimeter joint, edge joint | Separates the screed from walls, columns and pipes so it can move freely | Round every wall, upstand, column and pipe that passes through the floor |
| Contraction joint | Stress relief, induced, control or crack inducing joint | A weakened line that makes shrinkage crack in a straight line where you want it | Between bays, at doorways, at changes of shape |
| Expansion or movement joint | Full movement joint, structural joint | A full depth break, often with a compressible filler, that lets both sides move apart and together | Over every movement joint in the slab or structure, and between heating zones |
| Construction joint | Day joint | Where one day's pour stops and the next starts | Planned to fall on a bay line, not in the middle of a room |
Swipe the table sideways to see every column.
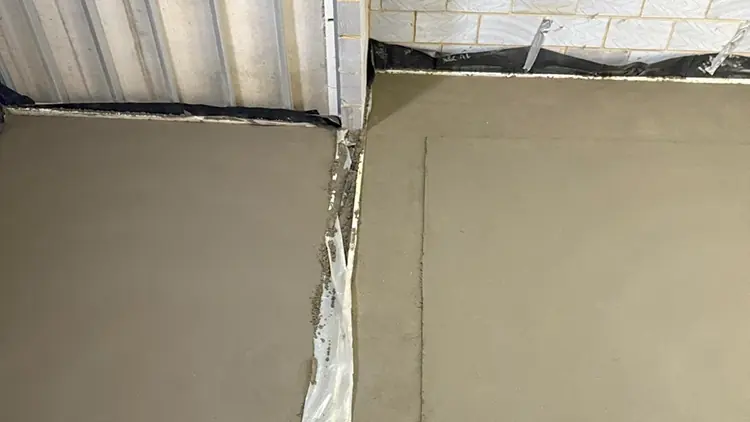
Isolation joints are the edge strip you see stuck round the walls before a screed goes down. On heated floors the strip needs to be thicker to take the extra movement: for Supaflo Rapide, CEMEX asks for a 5mm compressible foam edge strip against every vertical surface, rising to at least 8mm where there is underfloor heating.
Contraction joints can be formed before the pour with a joint former fixed to the base, or cut after the screed hardens. CEMEX describes forming stress relief joints with L section formers or arris type joints stuck to the subfloor before laying. Cemfloor allows joints to be sawn once the screed has hardened, to between a third and two thirds of the screed depth, but says sawing is not recommended where the screed contains heating pipes.
Construction joints are a fact of life on bigger sand and cement floors. Flowcrete's specification for Isocrete K-Screed asks for a strip of D49 steel fabric across day joints where the screed is fibre reinforced rather than meshed throughout.
Concrete slab joints are a separate design
Ground bearing slabs and suspended slabs have their own joints, set out by the engineer or the slab contractor. BS 8204-1, the code of practice for concrete bases and cementitious levelling screeds, says it does not give guidance on the structural design of ground supported floors or suspended slabs, so those joints are not the screeder's to move. What matters for the screed is simple: wherever the slab has a joint designed to move, the screed above must have a joint in the same place. A screed laid continuously over a moving slab joint will crack along that line, and the crack will come up through the floor finish.
Bay sizes by screed type
Bay size depends almost entirely on the material, because shrinkage is the main driver. The figures below are each manufacturer's stated limits for named products and are not interchangeable: the data sheet for the screed being laid decides.
| Screed | Example product | Maximum area without joints | Long, narrow areas | Source |
|---|---|---|---|---|
| Traditional sand and cement | Site or ready mixed | Usually split into 30 to 40m² bays | Joint at narrow points | CEMEX Supaflo brochure |
| Cement based liquid, unheated | Cemfloor | 150m² | Joint when the length is more than 4 times the width; corridors up to 4m wide jointed at least every 15m | Cemfloor installation guide |
| Cement based liquid, heated | Cemfloor | 100m² | As above, plus joints between heating zones | Cemfloor installation guide |
| Calcium sulphate liquid | CEMEX Supaflo Rapide | 500m² | Aspect ratio 1:4 or less | CEMEX data sheet |
| Calcium sulphate thin section | CEMEX Supaflo TS-20 | 750m² for roughly square areas | Aspect ratio up to 1:5 | CEMEX data sheet |
| Calcium sulphate liquid | CEMEX Supaflo | Up to 1,600m² | Per product sheet | CEMEX Supaflo brochure |
Swipe the table sideways to see every column.
Three things stand out.
- Sand and cement needs by far the most joints. On a 60m² open plan kitchen extension, a traditional screed will usually be split into at least two bays, where a liquid screed may need none inside the room. A sand and cement mix laid too wet also shrinks more as it dries, which our screed mix ratio guide explains.
- Heating shrinks the allowance. Cemfloor drops its limit from 150m² to 100m² once the floor is heated.
- Shape matters as much as area. A long hallway can be well under the area limit and still crack across its width if it is more than four or five times longer than it is wide.
This is the main reason calcium sulphate screed is common in big open plan rooms. Our sand and cement screed page explains how we divide larger traditional floors into bays and carry joints through at doorways. Our guide to liquid screed vs sand and cement screed compares the two in full, and our screed thickness guide covers the depths each needs.
Doorways, heating zones and changes in shape
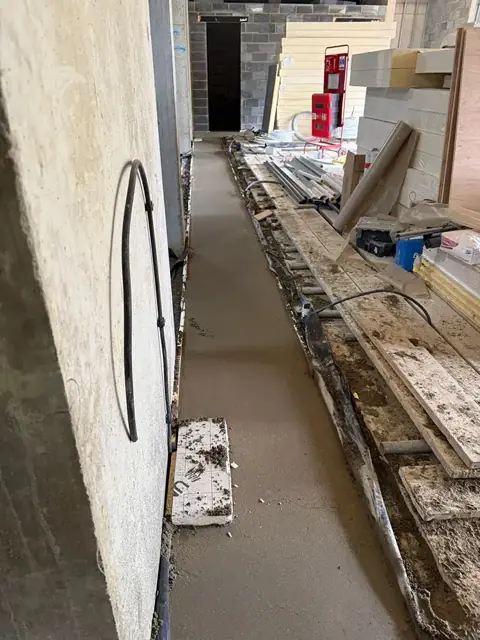
Screed cracks tend to start at the same few places, where the floor changes shape or meets something fixed. Cemfloor and CEMEX both call for joints at doorways and any other reduction in the plan width of the floor, and they are worth planning on every job.
| Location | Why it cracks | What we do |
|---|---|---|
| Doorways | The floor narrows suddenly, so shrinkage concentrates there | A joint across the threshold, usually under the door leaf |
| L shaped and T shaped rooms | The inside corner is a stress point | A joint off the inside corner to split the shape into rectangles |
| Long corridors | Length far greater than width | Joints to bring each bay within the aspect ratio limit |
| Between heating zones | Each zone heats and cools at its own time | A movement joint on the zone line |
| Heated next to unheated | One side expands, the other does not | A movement joint between the two |
| Columns, soil pipes and drains | The screed is restrained around a fixed point | Isolation strip round the object, mesh at the stress point |
| Over slab or structural joints | The base moves underneath | A full movement joint directly above |
Swipe the table sideways to see every column.
Joints in underfloor heating screeds
Heated floors need the most thought. Cemfloor says joints should be installed between different heating zones and between heated and unheated areas. Quick-Step's underfloor heating instructions say zones with different floor temperatures, such as zones on separate controllers or zones with and without heating, must be separated by an expansion joint and profile.
That has two practical effects:
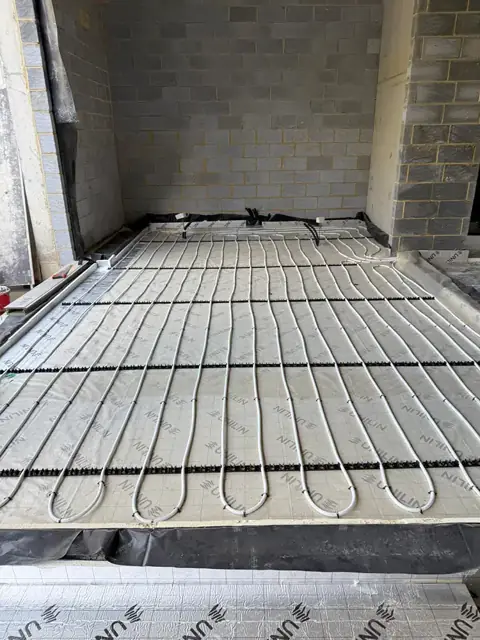
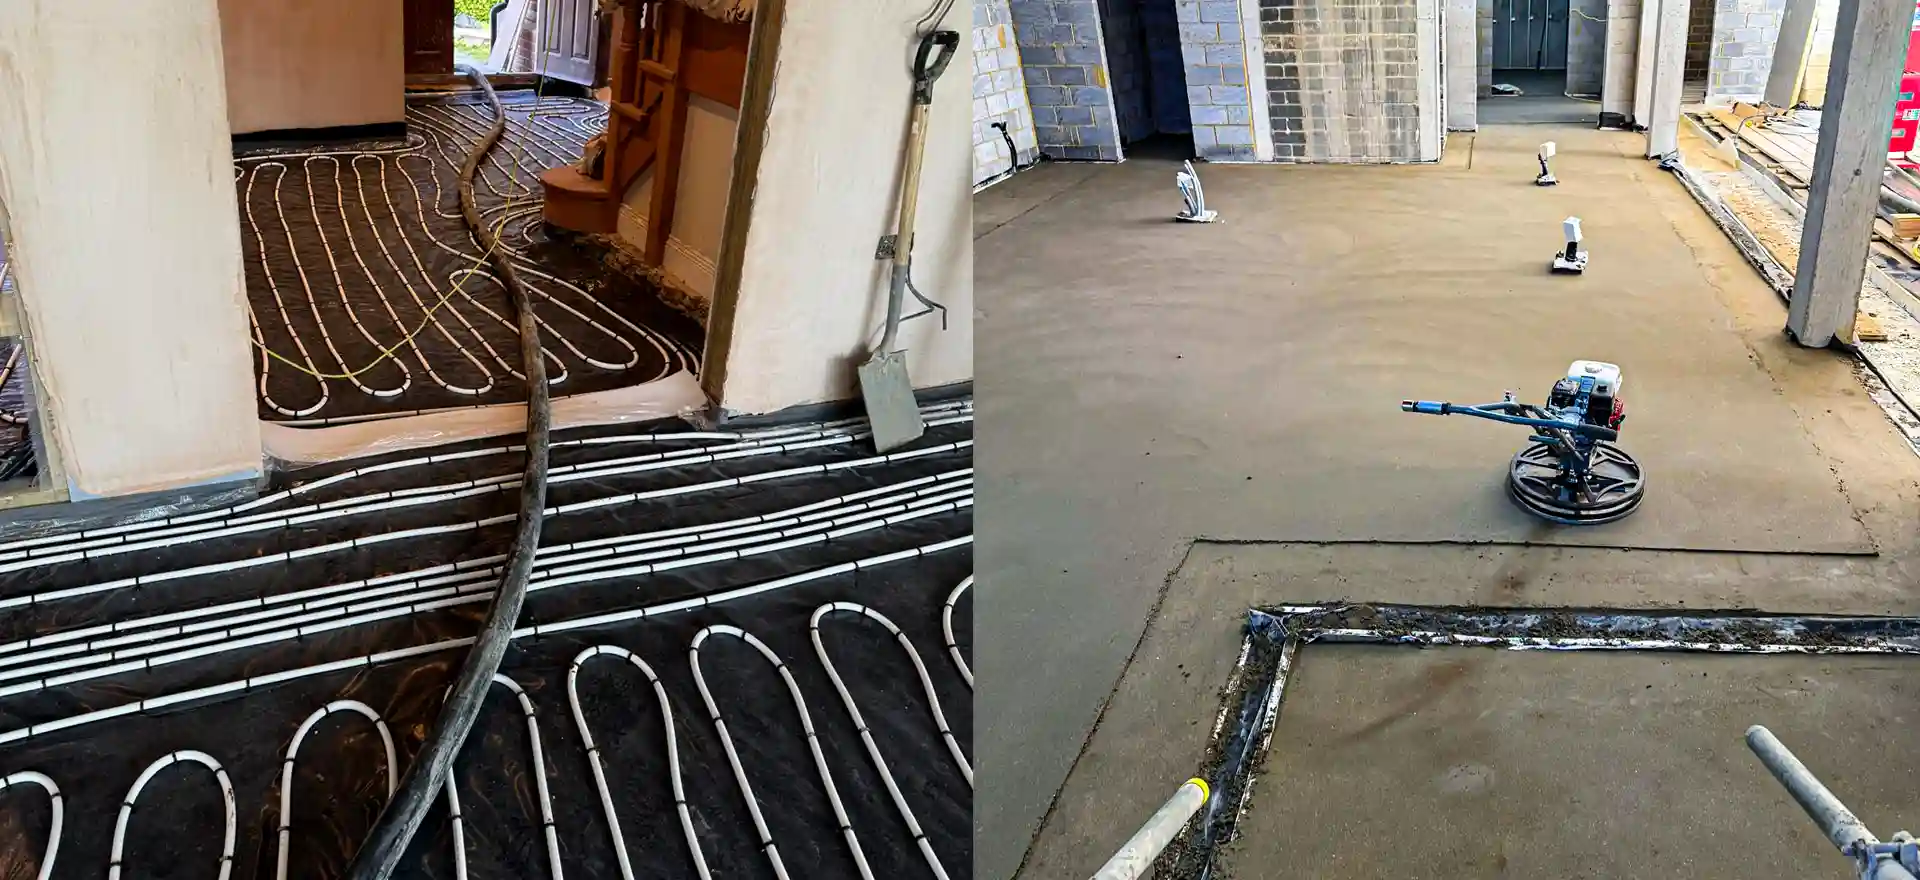
- Pipe layout and joint layout must agree. If each heating zone is laid out as its own area, few pipes need to cross a joint line. The heating designer and the screeder need to see the same drawing, and any pipe that has to cross a joint should be detailed by the heating supplier.
- The joints must be in before the pour. Once pipes are buried, there is no safe way to saw a joint in later.
We do not install heating pipes, but we do set out the screed joints to suit the pipe layout before we pour. See our underfloor heating screed page for how we prepare heated floors.
Carrying joints through to tiles and flooring
A joint is only as good as the floor finish laid over it. If a tiler or fitter bridges a screed joint with rigid material, the movement simply transfers into the finish, and you get a cracked line of tiles or a split in the vinyl running exactly along the joint below.
The rule is to copy every joint straight up:
- Mark the joints before the floor is covered. Photograph them and measure them off the walls before primer or adhesive hides them.
- Isolation joints become perimeter gaps. Tiles and boards stop short of the walls, with the gap covered by skirting or filled with a flexible sealant, never grout.
- Movement joints become movement joints in the finish. Quick-Step's underfloor heating guide says that for glue down installations the expansion joints in the subfloor must be copied into the new floor. With tiles, that means a flexible joint or movement profile on the same line, not grout across it.
- Plan the tile layout around the joints. A tiler who knows where the joints are can set the layout so a joint falls on a grout line rather than through the middle of a tile.
- Follow the finish's own rules too. Some floor finishes need their own joints regardless of the screed. Karndean's rigid core guide, for example, asks for an 8mm expansion joint where a run exceeds 15m in width or length, and a perimeter gap of at least 5mm.
CEMEX also advises considering an uncoupling layer under ceramic and natural stone laid over its flowing screeds. An uncoupling membrane spreads small movements, but it does not replace a structural movement joint: joints in the base still come through.
What to do if joints were left out
Straight cracks across doorways, cracks off internal corners, or one long crack over a slab joint usually mean joints were missing or in the wrong place. Before any flooring goes down, the crack needs assessing: a stable crack can be repaired, but a crack that is still moving often needs a proper joint forming along its line. Our screed repairs page explains how we assess and repair cracked, curling and hollow screeds.
Get a fixed price for your floor
Send us the floor plan and the heating layout and we will set out the joints and price the screed to suit. To quote properly we need:
- the floor area in m², and a sketch or drawing of the room shapes and doorways;
- the depth available, or the finished floor level you need to hit;
- whether there is underfloor heating, and how many zones;
- what is going on top, such as tiles, LVT, engineered wood or carpet;
- the site postcode.
For a rough budget first, try our screed calculator. Then contact us or call 07466 650936. We call back the same day, send a written quote within 24 hours, and agree a fixed price before work starts.
Sources
- Installation of Cemfloor, Cemfloor, 2023, accessed 1 October 2026
- Cemfloor Therm technical data sheet, Cemfloor, version 4, April 2024, accessed 1 October 2026
- Supaflo self compacting, self levelling flowing screed brochure, CEMEX UK, accessed 1 October 2026
- Supaflo Rapide technical data sheet, CEMEX UK, accessed 1 October 2026
- Supaflo TS-20 technical data sheet, CEMEX UK, accessed 1 October 2026
- Isocrete K-Screed additive technical data, Flowcrete, February 2019, accessed 1 October 2026
- Installing Unilin flooring on floor heating and floor cooling, Quick-Step (Unilin), accessed 1 October 2026
- Rigid core plank and tile installation guidelines, Karndean Designflooring, accessed 1 October 2026
- BS 8204-1:2003+A1:2009, concrete bases and cementitious levelling screeds to receive floorings, BSI, accessed 1 October 2026